How To Make Printable Iron On Transfers
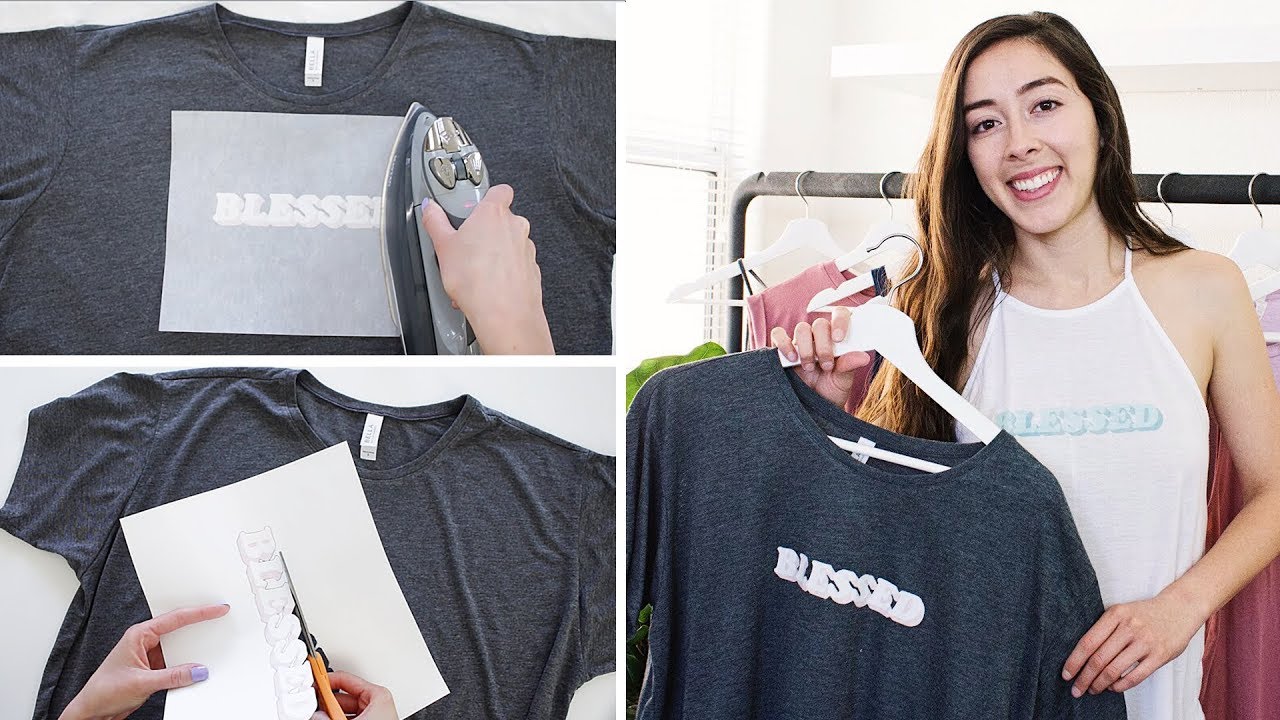
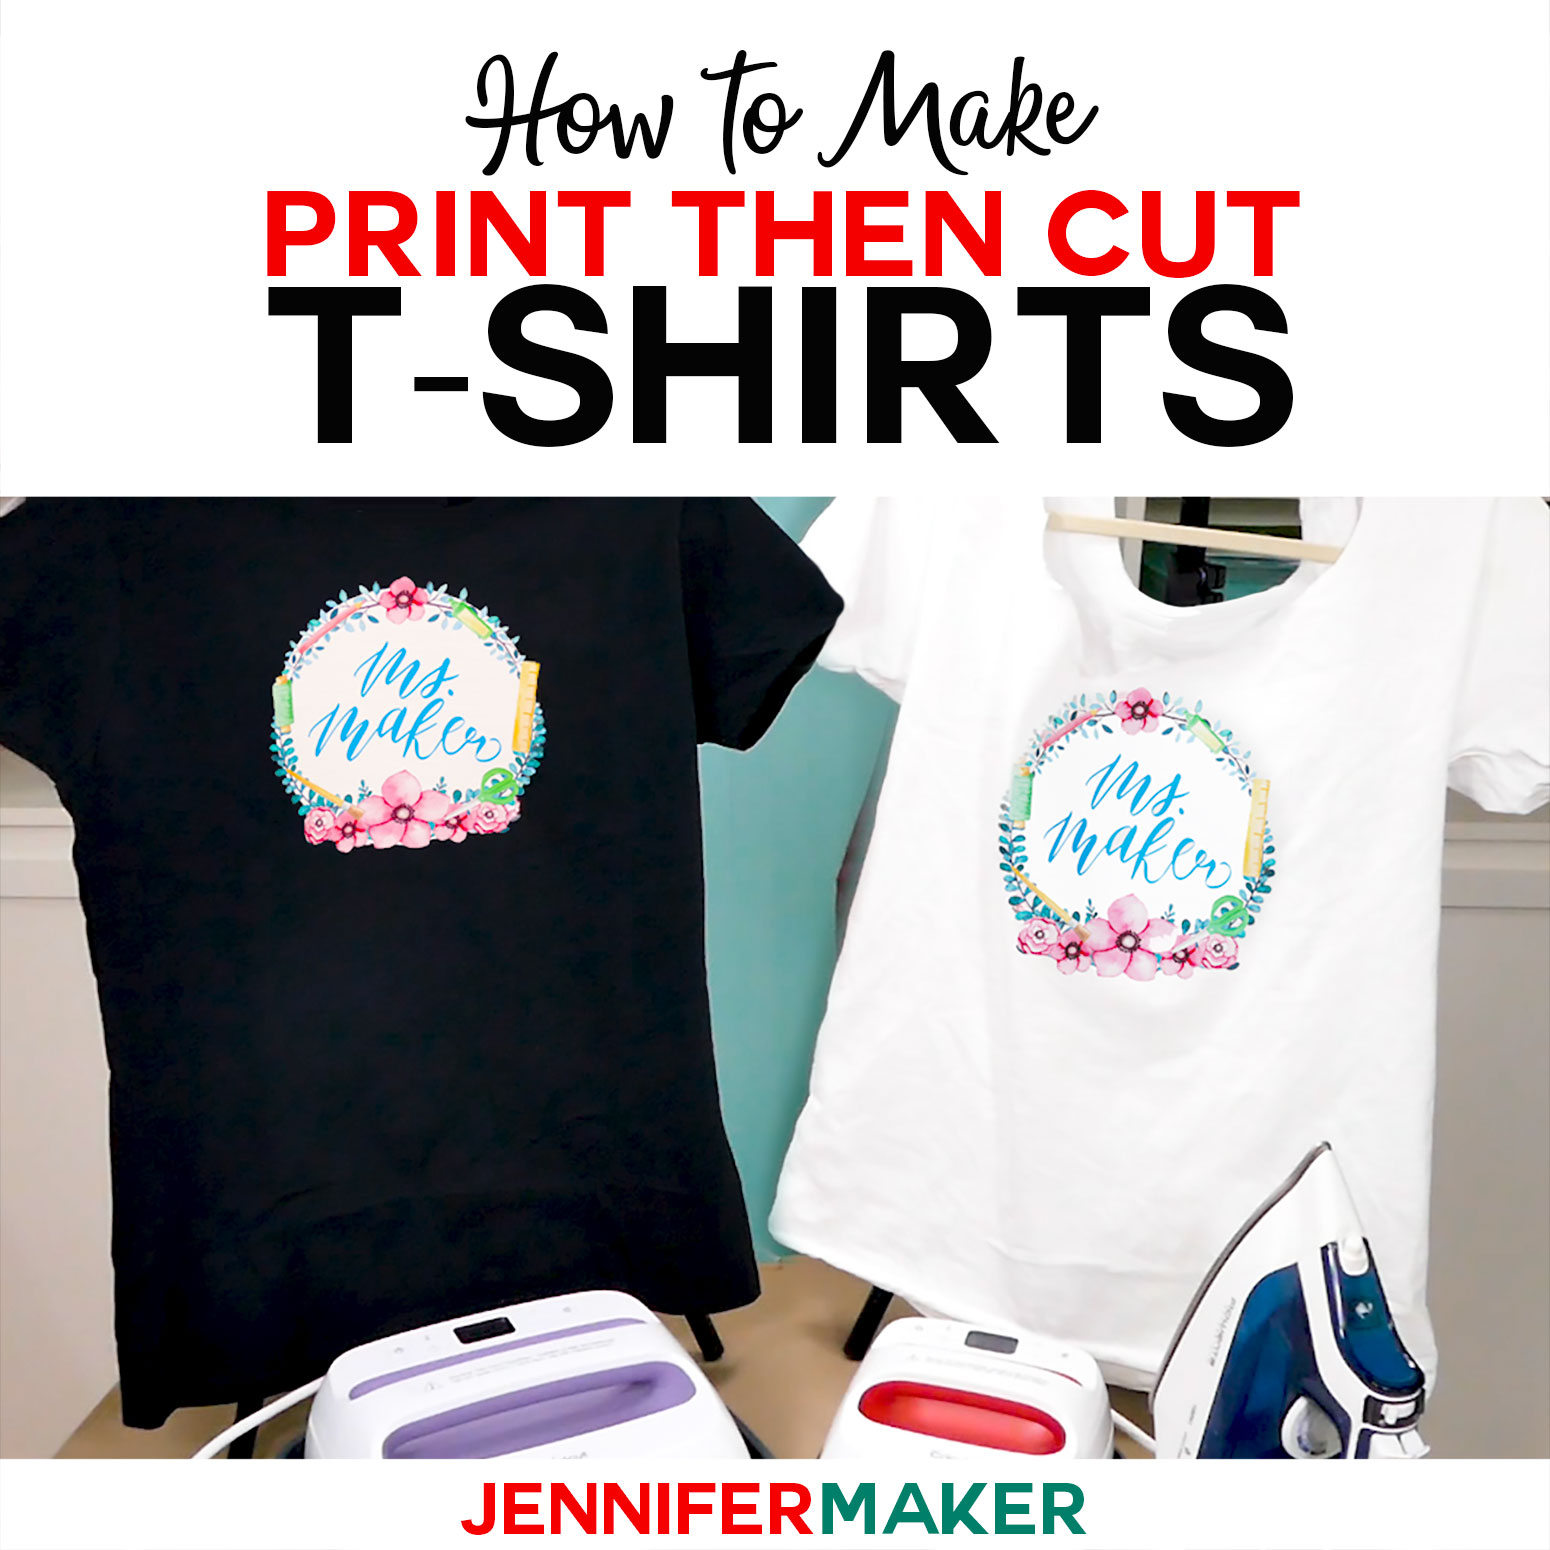
How To Make Printable Iron On Transfers - Before designing, you must consider is the color of the material you are using. Using a laser printer may damage. It has an adhesive on the back that is activated by heat (using a cricut easypress (my favorite) or traditional heat press. Web trim away lettering before ironing. Print image and allow to dry for 30 minutes before transferring. 268k views 5 years ago. Web whether you're making custom shirts for the local sports team, creating the perfect gift for a loved one, or making merchandise to sell on ebay or etsy, iron on transfers provide an inexpensive and easy way to apply images to fabric. Web insert a sheet of transfer paper into your printer so that the printing will occur on the plain, unmarked side of the transfer sheet. Paper cutter (optional) i love this paper cutter. Avoid ironing boards as they are not suitable for this task. You can create a graphic tee using. Print up a tote bag or a tee shirt for the egg hunt, decorate napkins and bibs or placemats and napkins with these cute little baby chicks. For use with inkjet printers only. Web printable iron on is a heat transfer material on which you can print an image. Cut out your printed image from the transfer sheet, leaving a narrow border around the edge. Web whether you're making custom shirts for the local sports team, creating the perfect gift for a loved one, or making merchandise to sell on ebay or etsy, iron on transfers provide an inexpensive and easy way to apply images to fabric. Avoid ironing boards as they are not suitable for this task. Web just use your iron or heat press to transfer patterns in a matter of seconds. Web insert a sheet of transfer paper into your printer so that the printing will occur on the plain, unmarked side of the transfer sheet. Or anything made out of fabric! Avoid ironing boards as they are not suitable for this task. After the design has transferred, confirm with the client that the placement is correct. Using a laser printer may damage. Web whether you're making custom shirts for the local sports team, creating the perfect gift for a loved one, or making merchandise to sell on ebay or etsy, iron on transfers provide an inexpensive and easy way to apply images to fabric. Web customize your printable design in design space, then select make it. It's easy to make your own iron on transfers using free clip art (or a favorite photograph) and special transfer paper you run through your inkjet printer. Apply tattoo transfer cream to the client’s skin, then carefully place the stencil on the area. Web how to make iron on transfers. Production tips, software recommendations, and free artwork For iron on dtf transfers, ensure the image side is facing down. Web how to make iron on transfers. Web customize your printable design in design space, then select make it. Print image and allow to dry for 30 minutes before transferring. Cut out your printed image from the transfer sheet, leaving a narrow border around the edge. For iron on dtf transfers, ensure the image side is facing down. Web just use your iron or heat press to transfer patterns in a matter of seconds. All you'll need is some fabric, transfer images, transfer paper, and an iron! Before designing, you must consider is the color of the material you are using. Using a laser printer may damage. Apply tattoo transfer cream to the client’s skin, then carefully place. Cut out your printed image from the transfer sheet, leaving a narrow border around the edge. You can create a graphic tee using. Apply firm and even pressure with the iron. Production tips, software recommendations, and free artwork Why use cricut to make iron on transfers for embroidery? Other iron on craft ideas: Print image and allow to dry for 30 minutes before transferring. Avoid ironing boards as they are not suitable for this task. Apply firm and even pressure with the iron. Apply tattoo transfer cream to the client’s skin, then carefully place the stencil on the area. Make a holiday flag or treat bag to celebrate easter with this colorful peep chicks iron on. Embroidery hoop, needle, and thread. Production tips, software recommendations, and free artwork Check your printer’s instructions or print a test page on printer paper to ensure you are loading the material with the correct side up. Why use cricut to make iron on. Cut out your printed image from the transfer sheet, leaving a narrow border around the edge. Avoid ironing boards as they are not suitable for this task. It has an adhesive on the back that is activated by heat (using a cricut easypress (my favorite) or traditional heat press. For use with inkjet printers only. Using a laser printer may. To print your own t shirt only requires a design, a home or office printer, an iron, and something to print. It has an adhesive on the back that is activated by heat (using a cricut easypress (my favorite) or traditional heat press. Avoid ironing boards as they are not suitable for this task. Before designing, you must consider is. Avoid ironing boards as they are not suitable for this task. Print up a tote bag or a tee shirt for the egg hunt, decorate napkins and bibs or placemats and napkins with these cute little baby chicks. Web trim away lettering before ironing. In this guide, we’ll cover everything you need to know about the different types of transfer. In this guide, we’ll cover everything you need to know about the different types of transfer paper, for success, and creative applications for your designs. It has an adhesive on the back that is activated by heat (using a cricut easypress (my favorite) or traditional heat press. For iron on dtf transfers, ensure the image side is facing down. Embroidery. Check your printer’s instructions or print a test page on printer paper to ensure you are loading the material with the correct side up. To print your own t shirt only requires a design, a home or office printer, an iron, and something to print. Print image and allow to dry for 30 minutes before transferring. Position the transfer paper. Web customize your printable design in design space, then select make it. Using a laser printer may damage. Apply firm and even pressure with the iron. It's easy to make your own iron on transfers using free clip art (or a favorite photograph) and special transfer paper you run through your inkjet printer. It has an adhesive on the back that is activated by heat (using a cricut easypress (my favorite) or traditional heat press. Make a holiday flag or treat bag to celebrate easter with this colorful peep chicks iron on. In this guide, we’ll cover everything you need to know about the different types of transfer paper, for success, and creative applications for your designs. 268k views 5 years ago. Embroidery hoop, needle, and thread. Web just use your iron or heat press to transfer patterns in a matter of seconds. Cut out your printed image from the transfer sheet, leaving a narrow border around the edge. All you'll need is some fabric, transfer images, transfer paper, and an iron! Apply tattoo transfer cream to the client’s skin, then carefully place the stencil on the area. If they are not satisfied, you can easily remove the design with alcohol and reapply until it’s perfect. For iron on dtf transfers, ensure the image side is facing down. You can create a graphic tee using.
How To Make Your Own IronOn Transfers With A Printer (with FREE
How To Design Iron On Transfers Printable Form, Templates and Letter

Printable Iron On Transfers Cricut

How to Use Printable Iron On with your Cricut Hey, Let's Make Stuff

How To Make Your Own IronOn Transfers With A Printer (with FREE
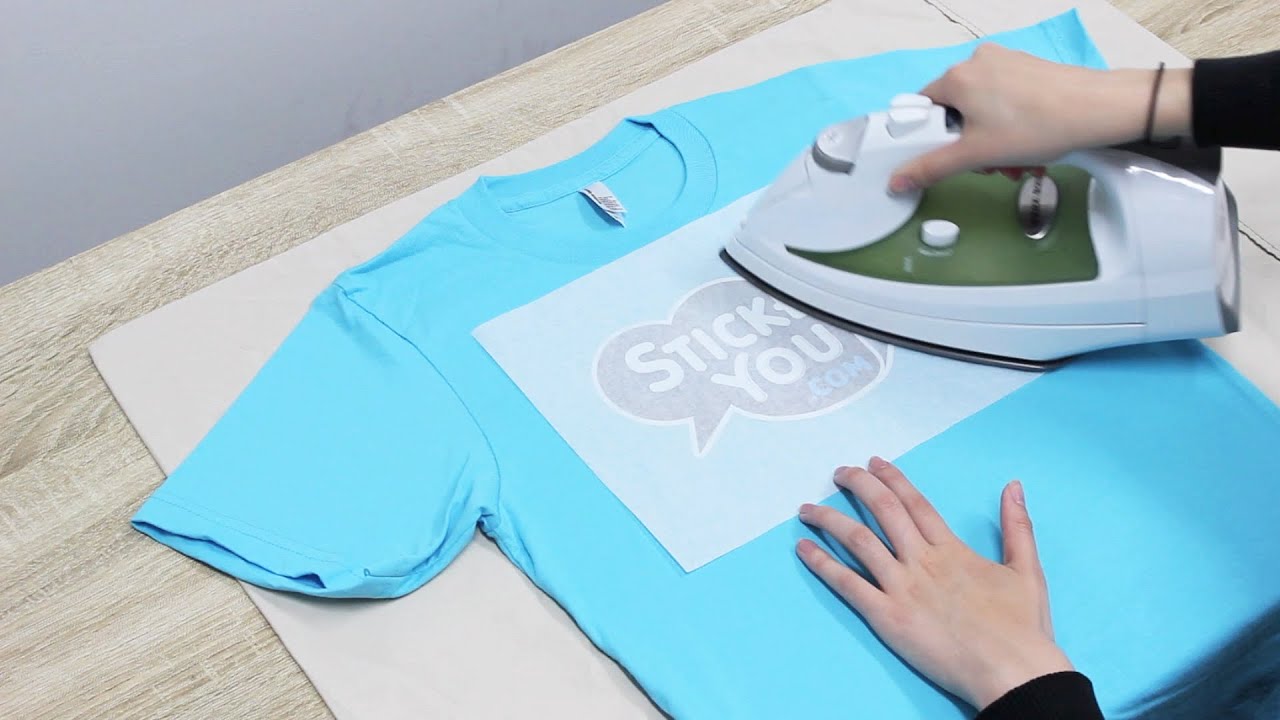
Applying IronOn Labels & Transfers StickerYou Tutorials YouTube

How To Make Printable Iron On Transfers
Best Iron On Tshirt Transfers at Robert Chase blog
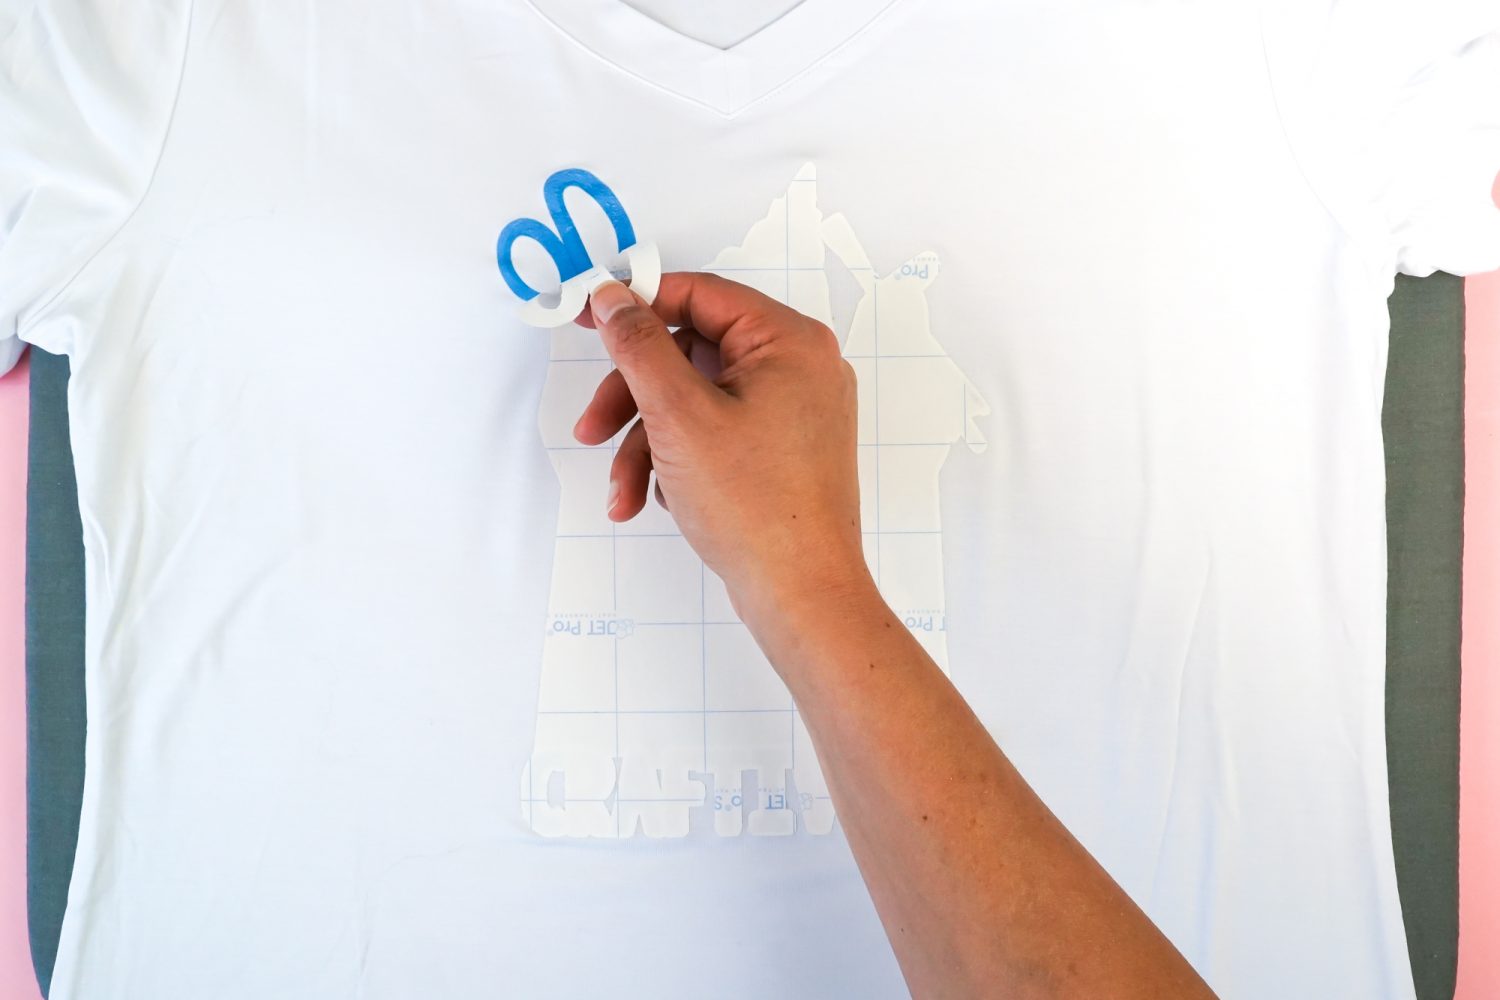
How to Use Printable Iron On with your Cricut Hey, Let's Make Stuff
How to Use Printable Iron On with your Cricut Hey, Let's Make Stuff
Show You Several Ideas Of How You Can Apply Them To Your Homemade Projects.
Web Trim Away Lettering Before Ironing.
After The Design Has Transferred, Confirm With The Client That The Placement Is Correct.
Web Iron Them Onto A Piece Of Fabric, Ribbon Or Twill Tape.
Related Post: